When I first started coding in college, one of the scariest pieces of technology to me was the terminal. Back then OSX shipped with bash and the default was just plain hard to look at, so I didn't.
Often tell junior developers to get as comfortable as possible with the terminal as soon as they can. I recount a tale from my college years where, just a few hours before a due date, I rm -rfed my project and had to redo it in a rush. This was solely because I was hesitant to use the terminal and didn't realize what I was doing. Being comfortable on the terminal is a critical skill as a dev, so being on your terminal should feel amazing.
Over the years I've played around with a bunch of different terminal setups and even written themes of my own. But I've really come to love my current setup. This post will detail how do make your's looks like this too! Be sure to check out my set of Better Default Tools.
The hottest terminal on the block for OSX is ghostty its fast AND pretty.
Here is my in progress config, first install these fonts
theme = carbonfox

window-padding-x = 16
window-padding-y = 8

font-family=MesloLGS NF Regular
font-family-bold=MesloLGS NF Bold
font-family-italic=MesloLGS NF Italic
font-family-bold-italic=MesloLGS NF Bold Italic
And then the next thing I install oh-my-zsh. From their website:
Oh My Zsh is a delightful, open source, community-driven framework for managing your Zsh configuration.
We will this utilize the theming and plugin support
Theming your terminal usually involves a lot of setup and tweaking. Recently I found powerlevel10k and am absolutely in love.
Features:
- Setup is a breeze
- The font the have you install looks amazing on a terminal
- Instantly responsive on a new tab (I type so fast now!)
- Transient Prompt make having information on your terminal prompt useable
Install the theme on your machine:
Set the theme in ~/.zshrc:
Once you restart your terminal you will go through the setup to customize your terminal. If you like the way mine above is rendered, you can grab mine here.
In this section I explain the customization I did to my ~./.p10k.zsh. If you use mine you do not have to read any of this, as it has already been done for you
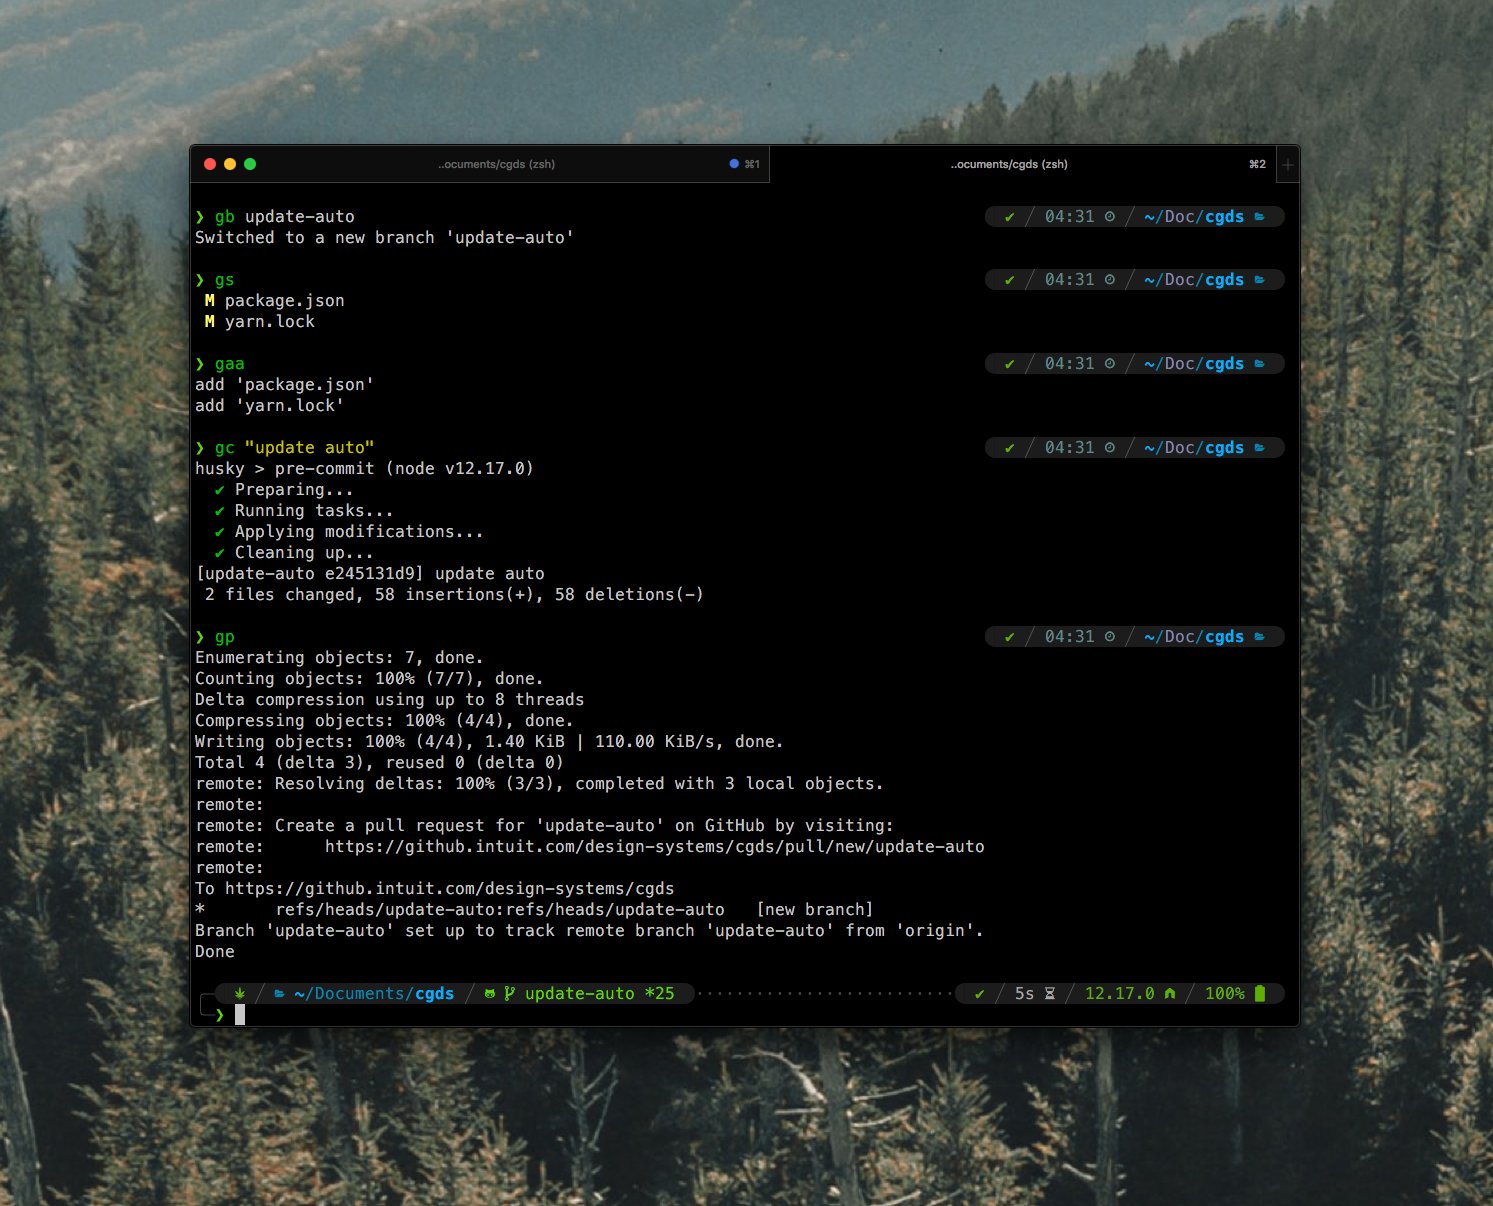
On the left side I added a custom icon on the first line, and a prompt character on the second line. The rest of the values are the defaults.
Here I un-commented any node version detection and added three items to the second line of the prompt. These three segments are only show on previous commands.
status- Whether the last command failed or passedtime- The time the last command was rundir- The directory the command was run from
This is super useful when your are looking back on commands you've run. You know the context in which they were ran and that information isn't cluttered with all the other stuff in your prompt.
ZSH Plugins offer a lot and most of the are geared towards a specific dev stack. Finding the right plugin means an awesome tab completion experience. Install whatever you need, I don't use plugins for this though.
The two plugin I do use are
- zsh-syntax-highlighting - Fish shell like syntax highlighting for Zsh. This is what makes my aliases/commands green above. If it's green then it's installed!
- zsh-autosuggestions - Fish-like autosuggestions for zsh. Will show a preview of the last matching command while typing. Press right to use
I started out not using aliases all that much, but as you get more comfortable with the terminal they become really useful. Create these as you see fit, that's the easiest way to remember them. My most uses aliases are my Git Aliases.
The following ones are simple and can fit most workflows:
Enjoying the blog?
Subscribe to get new posts delivered straight to wherever you read standard.site publications.
Subscribe